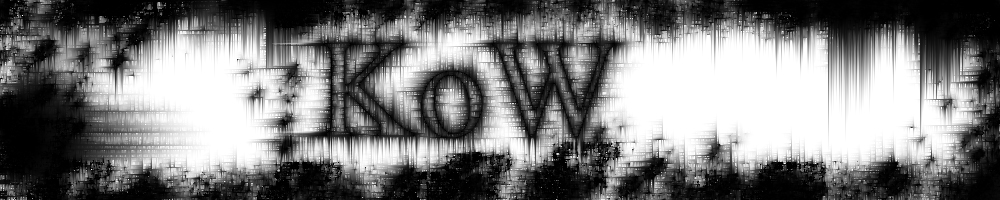
Here is the end result:
Now before we begin, this tutorial assumes you have the knowledge of the basics of photoshop. You may need photoshop CS2 for this, most photoshops should work, but I have no way of telling.
1. Start a new document, 500 x 500 pixels.
2. Write a word, I suggest it be 3-5 letters, but it can be more. The size of your font should be 150 pt, but if you have more than 3-5 letters, it can be less. The font shouldn't matter, but for reference, I'm using "Times New Roman".
Your screen should so far look similar to this: Step 2
If it doesn't, wow, just wow.
3. Make sure you have your text layer selected, and hold control, then hit E to merge the layer with the background layer.
4. Now use Filter -> Blur -> Guassian Blur.
Your radius should be 2.0
Your screen should now look similar to this: Step 4
5. Use Filter -> Stylize -> Solarize
6. Get a good contrast level by using Image -> Adjustments -> Auto Levels
Your screen should now look similar to this: Step 6
7. Add wind using: Filter -> Stylize -> Solarize
Your settings should be:
Method: Wind
Direction: From the left
8. Rotate your canvas using: Image -> Rotate canvas -> 90*CW
Your screen should now look similar to this: Step 8
9. Repeat Steps 7-8 three more times, or until your canvas has rotated a total of 360*
10. Hold Control and hit A, to select the whole picture, and then Hold Control and hit I to invert the colors.
Your screen should now look similar to this: Step 10
11. Use: Image -> Trim
Your settings should be:
Based on: Bottom Right Pixel
All the checkboxes should be checked
Your screen should now look similar to this: Step 11
12. Use Edit -> Define Brush Preset
Name it "Grunge Title"
13. Start a new document the same size you want your header to be, I used 800 x 150 px.
14. Select the brush tool, and for the brush, use splatter 59(the only brush with a 59 next to it).
15. Give your new document a black border using the "splatter 59" brush. Make it go toward the middle pretty far, but not so far that you can't fit large readable text without it touching the walls. Also, don't make it too dense. You should rarely see fully black patches. You can also use the sides of the grunge word brush you finished at step 12.
16. Hold Control and hit A to select all, then Hold control and hit I to invert the colors.
17. Do steps 7-8 until your image has rotated a full 360*
Your screen should look similar to this: Step 17
18. Hold Control and hit A, then Hold control and Hit I to invert colors.
19. Select the brush tool, and use the brush preset you made
20. Use the brush tool in the middle of your whole project, and it's finished. You may need the make the brush a bit smaller before you use it.

